
ryobi table saw instruction manual
Safety Precautions
Always wear safety glasses, ear protection, and a dust mask when operating the saw․ Ensure loose clothing or jewelry does not interfere with the blade․ Keep children and pets away from the work area․ Never operate the saw while fatigued or under the influence of drugs or alcohol․ Ensure the workbench is stable and secure to prevent the saw from tipping․ Always use the rip fence or miter fence to guide the workpiece, and avoid positioning your body in line with the blade․ Inspect the saw and accessories for damage before use, and replace any worn or damaged parts․ Keep the work area clean and well-lit to minimize accidents․ Follow all safety instructions in the operator’s manual and avoid unauthorized modifications to the tool․ Never leave the saw unattended while it is in operation․ Always unplug the saw when making adjustments or changing blades․ Be aware of kickback risks and ensure proper blade installation․ Keep hands and fingers away from the blade at all times․ Use a push stick or other safety devices for small or narrow cuts․ Be cautious of flying debris and ensure the saw is properly grounded to prevent electrical hazards․ Regularly maintain the saw to ensure optimal performance and safety․
- Wear protective gear, including safety glasses and ear protection․
- Ensure the workbench is stable to prevent tipping․
- Use the rip or miter fence for accurate cuts․
- Avoid standing in line with the saw blade․
- Inspect the tool and accessories before use․
- Never operate the saw while fatigued or distracted․
1․1 Personal Protective Equipment
Always wear appropriate personal protective equipment (PPE) when operating the Ryobi table saw․ Safety glasses or goggles are essential to protect your eyes from flying debris․ Ear protection, such as earplugs or earmuffs, should be worn to prevent hearing damage from the saw’s noise․ A dust mask or respirator is recommended to avoid inhaling sawdust and other airborne particles․ Wear snug-fitting clothing and avoid loose jewelry that could get caught in the blade․ Consider using gloves for better grip and control of the workpiece․ Keep long hair tied back to prevent it from interfering with the operation․ Ensure all PPE is in good condition and properly secured before starting the saw․ Never operate the saw without proper protective gear, as it significantly reduces the risk of injury․
- Safety glasses or goggles to protect eyes from debris․
- Ear protection to minimize noise exposure․
- Dust mask or respirator to prevent inhalation of dust․
- Gloves for improved control and grip․
- Snug-fitting clothing and tied-back hair for safety․
1․2 General Safety Guidelines
Ensure the workbench is stable and secure to prevent the saw from tipping during operation․ Always position yourself to avoid standing directly in line with the saw blade, as this increases the risk of injury from kickback; Keep the work area clean and well-lit to maintain clear visibility and prevent tripping hazards․ Never operate the saw when fatigued or under the influence of alcohol or drugs․ Avoid wearing loose clothing or jewelry that could get caught in the blade․ Inspect the saw and accessories for damage before use, and ensure all parts are properly secured․ Do not overreach or stretch while operating the saw, as this can lead to loss of control․ Always follow the manufacturer’s guidelines for blade installation and tool maintenance․ Keep children and pets away from the work area at all times․ Be cautious of flying debris and ensure proper blade alignment․ Never use damaged or warped blades, as they can cause unpredictable behavior․ Keep the workpiece firmly supported during cuts to prevent accidents․ Always unplug the saw when making adjustments or changing accessories․ Be aware of your surroundings and maintain a safe working environment to minimize risks․
- Ensure the workbench is stable and secure․
- Avoid standing in line with the saw blade;
- Keep the work area clean and well-lit․
- Never operate the saw when fatigued or under the influence․
- Inspect the saw and accessories for damage before use․
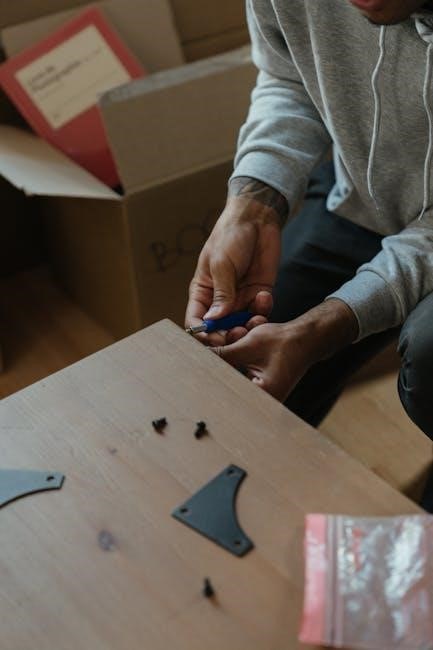
Assembly and Setup
Unpack and inspect all components for damage․ Secure the saw to a sturdy workbench to ensure stability․ Align the blade properly and ensure all bolts are tightened․ Follow the manual for precise assembly steps to guarantee safe and efficient operation․
- Unpack and inspect all components carefully․
- Secure the saw to a stable workbench․
- Align the blade correctly and tighten all bolts․
- Refer to the manual for detailed assembly instructions․
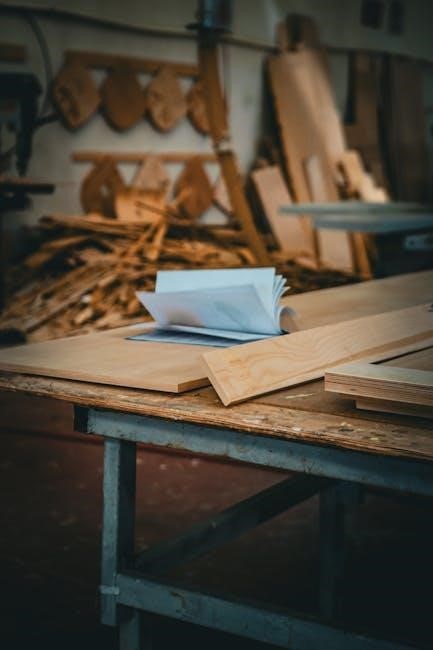
2․1 Unpacking and Initial Inspection
Begin by carefully unpacking the table saw and all included accessories from the box․ Inspect the saw and components for any visible damage or defects․ Check for all listed items in the manual, such as the blade, rip fence, miter gauge, and power cord․ Ensure no parts are missing or damaged during shipping․ Examine the table surface for any debris or imperfections that may interfere with operation․ Clean the saw and table surface before proceeding․ Verify that all tools and accessories are included and match the manual’s inventory list․ If any items are missing or damaged, contact Ryobi customer support immediately․ This step ensures a smooth and safe setup process․
- Unpack the saw and accessories carefully․
- Inspect for damage or missing parts․
- Check the table surface for imperfections․
- Clean the saw before assembly․
- Contact support if issues arise․
2․2 Securing the Saw to a Workbench
Position the table saw on a sturdy workbench or stand capable of supporting its weight and the load of materials being cut․ Use bolts or clamps to secure the saw firmly to the workbench, ensuring it remains stable during operation․ Make sure the surface is level and even to prevent vibration or movement․ Tighten all fasteners according to the manufacturer’s instructions to avoid any shifting․ Double-check the stability of the setup by gently rocking the saw back and forth․ If any movement is detected, adjust the clamps or bolts until the saw is completely secure․ A stable setup is crucial for accurate cuts and operator safety․
- Place the saw on a sturdy, level workbench․
- Use bolts or clamps to secure the saw firmly․
- Ensure the surface is even and stable․
- Tighten fasteners as instructed․
- Test stability before use․
Operating Instructions
Turn on the saw and ensure the blade is at full speed before making a cut․ Always use the rip or miter fence for precise cuts․ Maintain control of the workpiece, applying steady, consistent pressure․ Never force the material through the blade․ Keep hands and fingers away from the cutting area․ Monitor blade condition and adjust as needed for optimal performance․ Ensure the workpiece is properly aligned before starting the cut․ Avoid overloading the saw with excessively thick or heavy materials․ Keep the work area clear of debris for smooth operation․
- Ensure the blade reaches full speed before cutting․
- Use fences for accurate and safe cuts․
- Apply steady pressure to the workpiece․
- Monitor blade condition and alignment․
- Keep the area clear of debris․
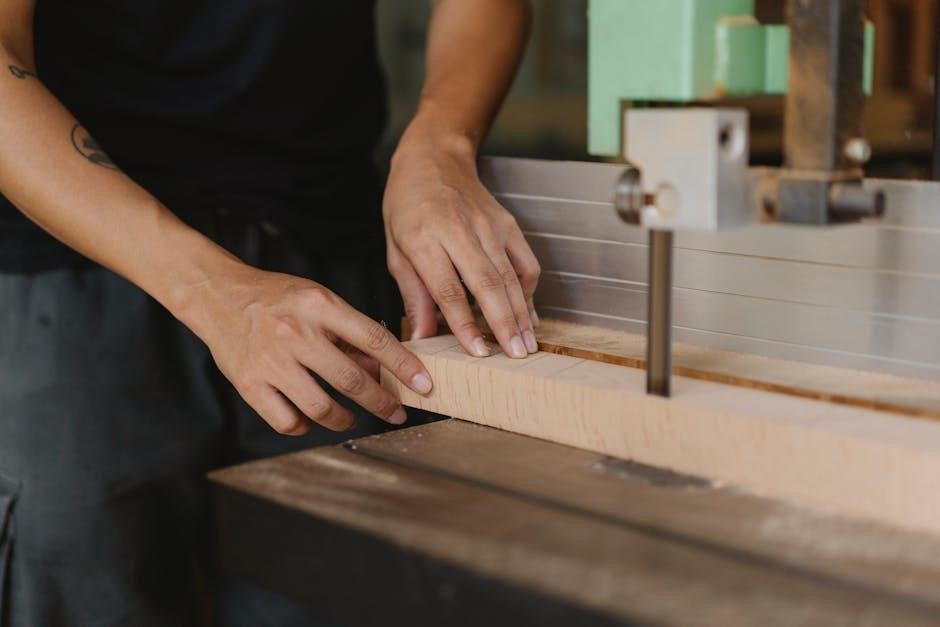
3․1 Basic Cutting Techniques
Mastering basic cutting techniques ensures precision and safety when using your Ryobi table saw․ Begin by aligning the workpiece with the blade using the rip or miter fence․ For crosscuts, position the material against the miter fence and gently push it through the blade․ Rip cuts require guiding the workpiece along the rip fence to maintain a straight edge․ Always maintain consistent pressure to avoid uneven cuts․ Keep hands and fingers at least 6 inches away from the blade․ Use a push stick for small or narrow pieces to maintain control․ Ensure the blade is properly aligned and sharp for clean results․ Avoid applying excessive force, as this can cause kickback or loss of control․ Practice on scrap material to refine your technique before working on final projects․ Regularly inspect the fence and blade for accuracy and adjust as needed․ Properly securing the workpiece and using the correct cutting tools will enhance both safety and precision․
- Align workpieces using the rip or miter fence․
- Apply steady, consistent pressure during cuts․
- Keep hands and fingers at least 6 inches from the blade․
- Use a push stick for small or narrow cuts․
- Ensure the blade is sharp and properly aligned․
3․2 Specialized Cuts and Techniques
For specialized cuts, start with bevel cuts by tilting the blade to the desired angle and using the fence as a guide․ This is ideal for creating angled edges on boards․ Miter cuts are achieved by angling the workpiece relative to the blade, ensuring precise alignment for decorative trim or picture frames․ Compound cuts combine both bevel and miter techniques, requiring careful setup for intricate joints․ Dado cuts involve using a dado blade or multiple passes with a standard blade to create joints for shelves or cabinets․ Ripping at an angle is useful for angled edges and requires adjusting the fence accordingly․
- Use a combination square for precise angles and employ jigs for consistent results․
- Take light passes, especially in thick materials, to avoid overloading the saw․
- Always keep hands clear of the blade and use push sticks for small pieces․
- Regularly maintain the blade to ensure clean cuts․
Maintenance and Troubleshooting
Regularly inspect the saw for damage or wear․ Clean the blade and table to ensure smooth operation․ Lubricate moving parts to maintain performance․ Troubleshoot issues like blade misalignment by recalibrating the fence․ Address uneven cuts by sharpening or replacing the blade․ Check for proper blade installation and alignment․ Ensure the saw is on a level surface for accurate cuts․ Refer to the manual for specific solutions to common problems․
- Inspect the blade for damage or dullness․
- Clean dust and debris from the table and blade․
- Lubricate the fence and miter gauge for smooth movement․
4․1 Regular Maintenance Tasks
Regular maintenance ensures the longevity and optimal performance of your Ryobi table saw․ Begin by inspecting the saw blade for dullness or damage, replacing it as needed․ Clean the table surface and miter slots to remove dust and debris, ensuring smooth operation․ Lubricate moving parts such as the fence and miter gauge with silicone-based spray to maintain smooth adjustments․ Check the blade alignment and ensure it is parallel to the fence to prevent uneven cuts․ Tighten any loose bolts or screws, especially around the motor and blade assembly․ Vacuum or brush away sawdust from the interior to prevent buildup․ Finally, refer to the operator’s manual for specific maintenance schedules and guidelines tailored to your model․
- Inspect and replace the saw blade as needed․
- Clean the table and miter slots regularly․
- Lubricate moving parts for smooth operation․
- Check blade alignment and tighten loose components․
4․2 Common Issues and Solutions
Common issues with the Ryobi table saw include blade misalignment, uneven cuts, and motor overheating․ To address misalignment, adjust the blade to ensure it is parallel to the fence․ For uneven cuts, check the blade for dullness or damage and replace it if necessary․ Motor overheating can be resolved by ensuring proper ventilation and avoiding continuous operation without breaks․ If the saw vibrates excessively, inspect and tighten all bolts and ensure the table is level․ For issues with the fence not locking securely, clean and lubricate the locking mechanism․ If the blade does not raise or lower smoothly, lubricate the trunnion system․ Refer to the operator’s manual for specific troubleshooting guides tailored to your model․
- Blade misalignment: Adjust to ensure parallelism with the fence․
- Uneven cuts: Inspect and replace the blade if dull or damaged․
- Motor overheating: Ensure proper ventilation and avoid continuous use․
- Excessive vibration: Tighten bolts and level the table․

Warranty and Customer Support
Ryobi offers a limited warranty covering defects in materials and workmanship․ Contact customer support via phone or online for assistance․ Warranty claims are handled through authorized dealers․
5․1 Understanding Your Warranty
Your Ryobi table saw is backed by a limited warranty covering defects in materials and workmanship for a specified period․ Register your product to ensure warranty validity․ The warranty typically covers repairs or replacements for faulty parts under normal use․ However, it does not apply to damage caused by misuse, improper maintenance, or accidental damage․ Proper registration and adherence to maintenance guidelines are essential for warranty claims․ Contact Ryobi customer support for detailed terms and conditions․ Keep your proof of purchase for any warranty-related services․ Warranty periods vary by product, so refer to your operator’s manual or Ryobi’s official website for specific details․
- Covers defects in materials and workmanship․
- Requires proper product registration․
- Excludes damage from misuse or neglect․
- Retain proof of purchase for claims․
5․2 Contacting Ryobi Customer Support
Ryobi customer support is available to assist with any questions or concerns regarding your table saw․ For troubleshooting, warranty inquiries, or repair requests, visit the official Ryobi website or contact their customer service team directly․ You can reach them via phone, email, or through the online support portal․ Ensure you have your product model number, serial number, and proof of purchase ready for efficient assistance․ Additionally, authorized retailers like Bunnings can provide in-person support and guidance․ Ryobi’s customer service is committed to resolving issues promptly and ensuring customer satisfaction․ For the most up-to-date contact information, refer to the operator’s manual or Ryobi’s official website․
- Contact Ryobi via phone, email, or online portal․
- Have your model number and proof of purchase ready․
- Visit authorized retailers like Bunnings for in-person support․
- Check the official website for the latest contact details․
Leave a Reply
You must be logged in to post a comment.